
In this blog post, we explore the implementation and testing of an omnichannel voice step in customer service. We guide readers through the necessary steps to set up and test the calling feature in D365 CE.
Configure Azure Communication Services voice channel – Step by Step Guide.
Over the past few years, there has been a growing demand for native, cloud-based voice solutions that integrate seamlessly with enterprise CRM systems. Azure Communication Services (ACS) has emerged as Microsoft’s strategic, first‑party telephony offering, designed to deliver voice capabilities across applications using the same underlying technology that powers Microsoft Teams calling
In this article, we will:
- Validate the setup by testing inbound calls in the Customer Service Workspace (renamed to Copilot Service workspace)
- Understand what Azure Communication Services is
- Review why ACS is a strong choice for Dynamics 365 voice
- Walk through the key configuration of Omnichannel Voice
Azure communication services
As per official Microsoft definition – Azure Communication Services offers multichannel communication APIs for adding voice, video, chat, text messaging/SMS, email, and more to all your applications
In several regions, Microsoft also acts as the telephony provider through ACS. This allows organizations to procure phone numbers directly from Azure and integrate them natively with Dynamics 365 Customer Service—without external CTI platforms. Since ACS is built on the same technology foundation as Microsoft Teams, it inherits its enterprise-grade security, scalability, and reliability
Why Choose ACS for Dynamics 365 Voice?
Dynamics 365 Customer Service Omnichannel supports multiple telephony integration models. However, using ACS offers several clear advantages:
- Native integration with Omnichannel for Customer Service (low-code / no-code setup)
- Seamless calling experience inside Customer Service Workspace (renamed to Copilot Service workspace)
- Microsoft-managed infrastructure hosted on Azure
- Enterprise security and compliance
- Built‑in real‑time AI capabilities, including:
- Call transcription
- Sentiment analysis
- Translation
- Call insights and recordings
For organizations already invested in the Microsoft ecosystem, ACS significantly reduces architectural complexity and operational overhead.
Prerequisites: To enable omni-channel voice, you must have Customer Service Enterprise license Dynamics 365 Customer Engagement along with either one of this Dynamics 365 Customer Service Voice Channel Add-in or Dynamics 365 Customer Service Digital Messaging and Voice Add-in.
To Plan in your tenant, you can refer to the system requirements and licencing.
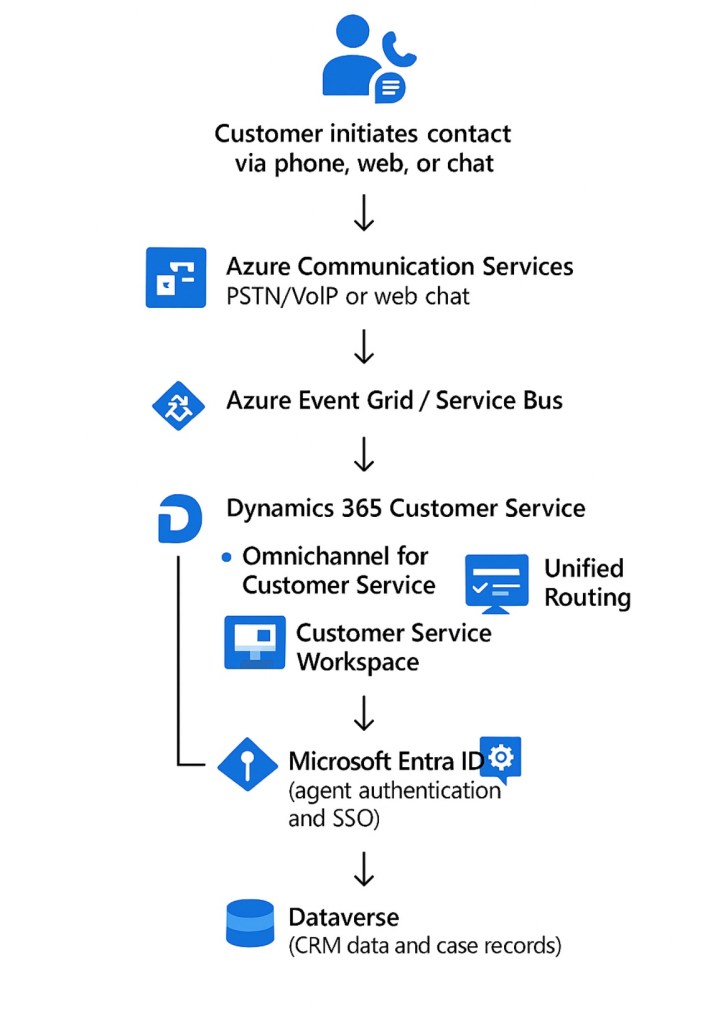
Overall Architecture
Below diagram explains the overall call flow and key Technical stack.
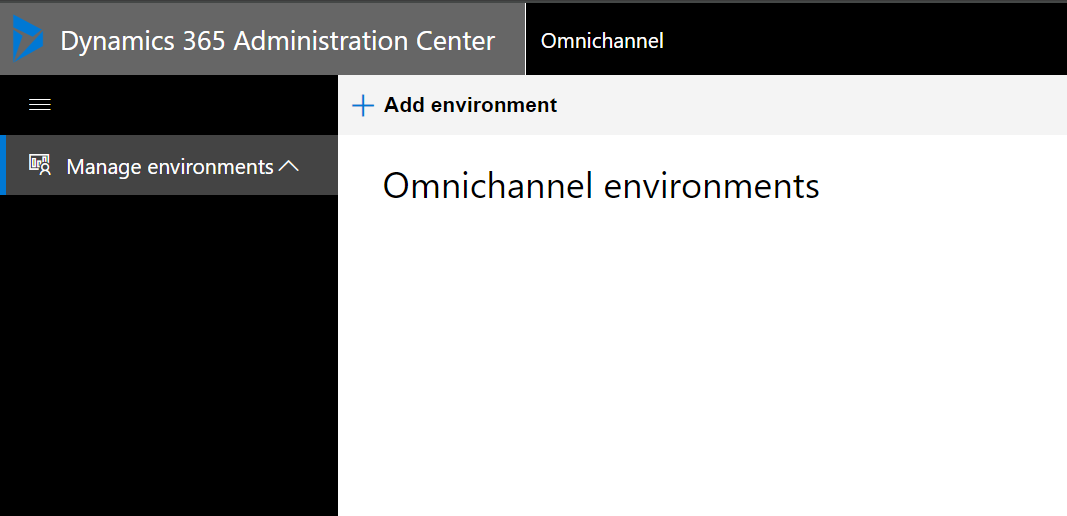
Provision Omnichannel for Customer Service
Before configuring voice, the Omnichannel for Customer Service application must be provisioned.
Steps:
Navigate to Power Platform Admin Center
- Go to Resources → Omnichannel for Customer Service
- Select Manage from the three-dot menu
- Choose the environment where Omnichannel should be enabled
- Complete the provisioning steps as per your requirements
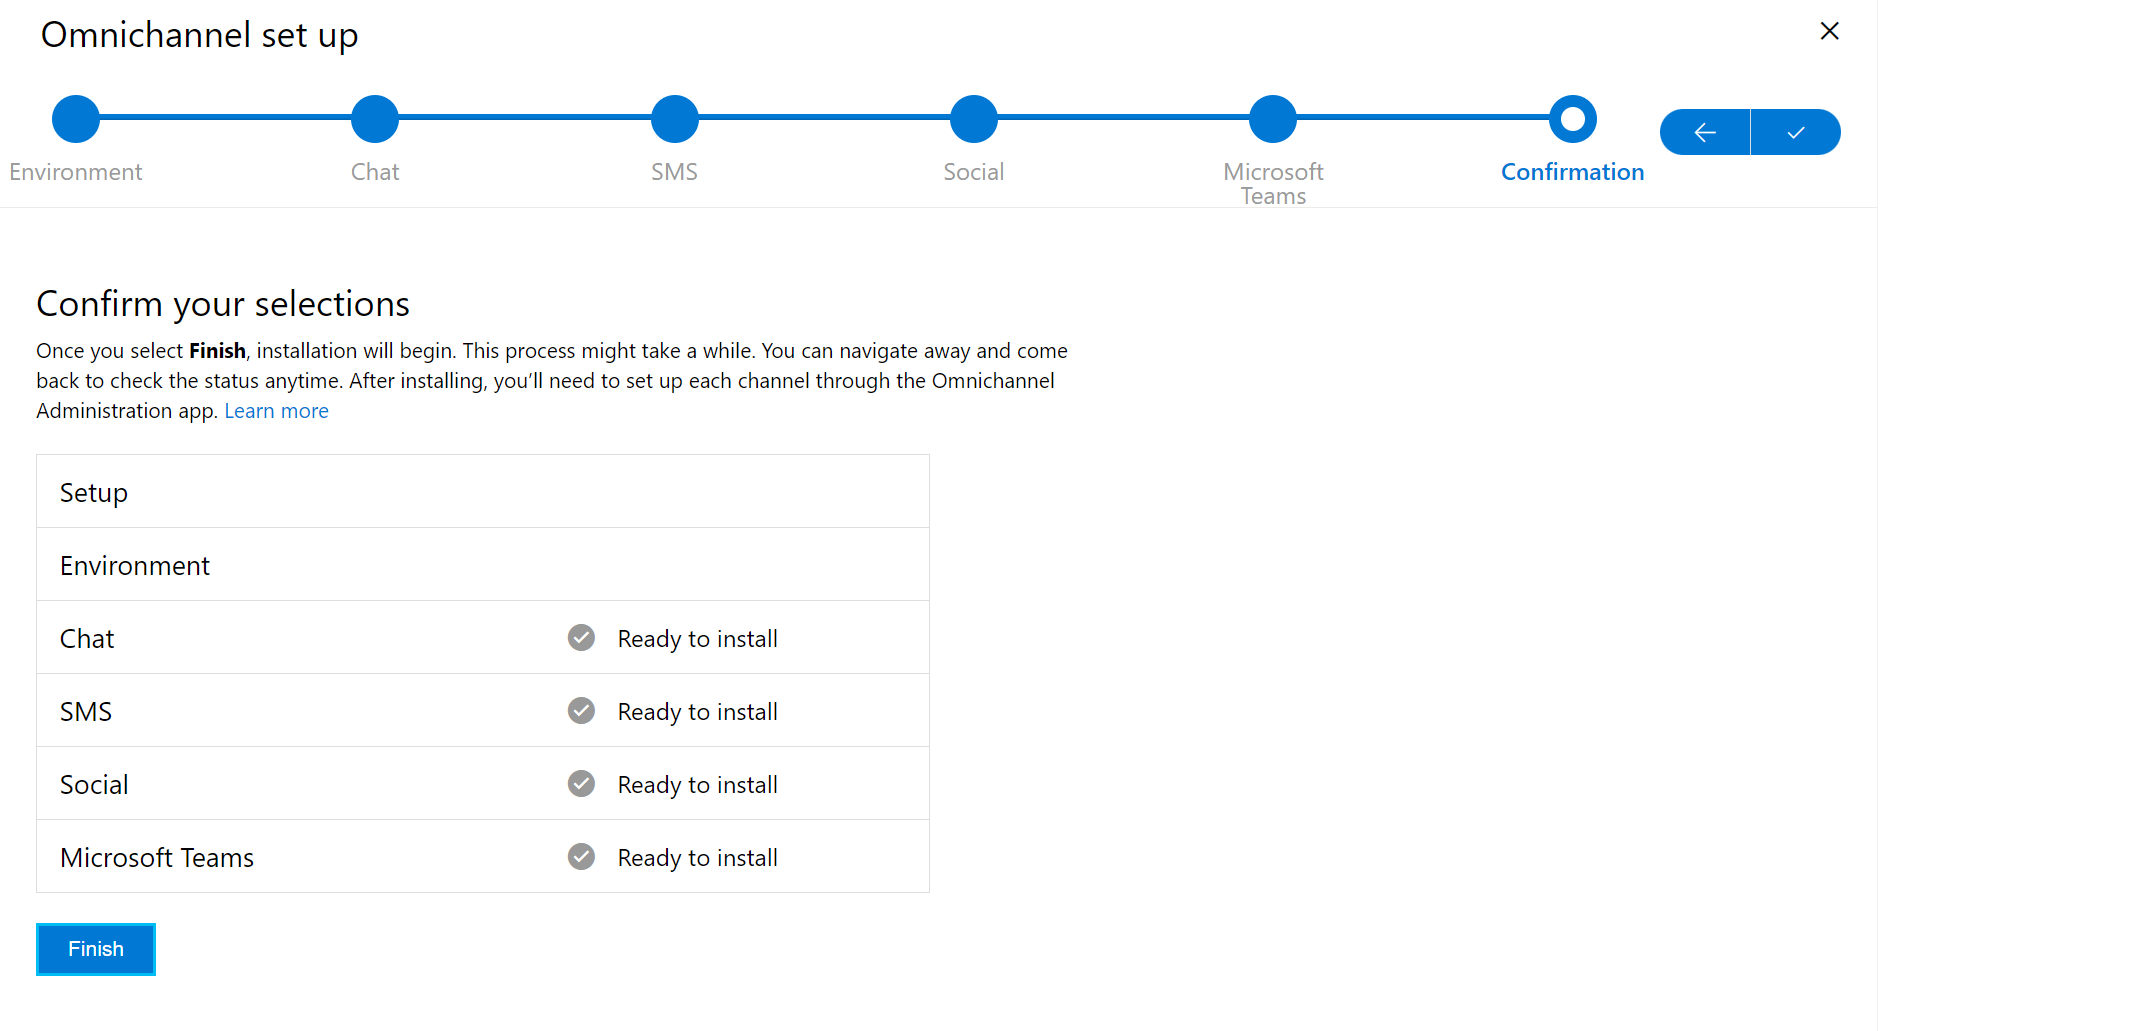
Note: Omnichannel provisioning can take few hours to complete.
Once completed, your environment will be enabled for Omnichannel features, including voice.
You can complete the set up as applicable for your requirements as shown below.
Once Omnichannel App is provisioned, you can follow below steps to configure voice.
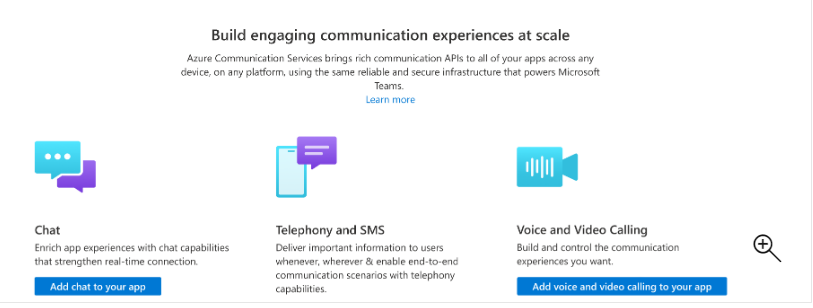
Step 1. Azure communication Service Resource.
First You need to create ACS resource via yours subscription from portal.azure.com , you can follow steps here
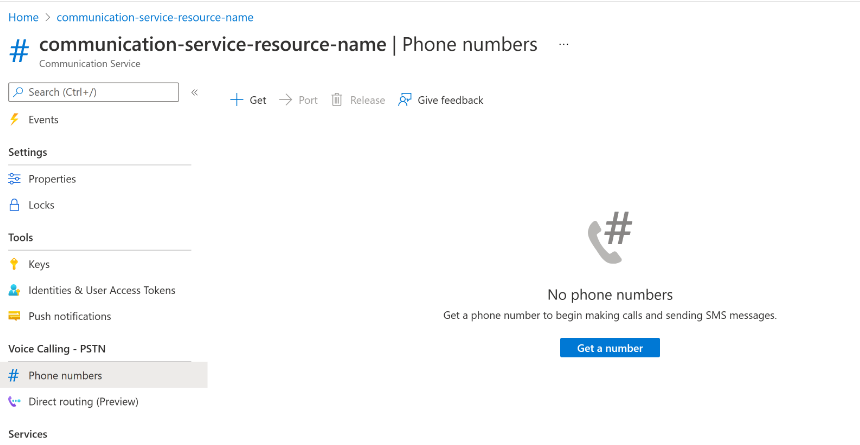
Step 2: Obtain a Phone Number
Once the ACS resource is created, you can acquire a local or toll‑free phone number.
Important considerations:
- ACS phone number availability varies by region and country
- Some regions may have regulatory requirements or verification steps
- Always validate the latest regional availability before planning production deployments
When procuring the number, you can specify required capabilities such as:
- Inbound calling
- Outbound calling
- SMS (incoming/outgoing)
you can follow the steps to obtain either a local or toll-free number here.
When acquiring a number for your contact centre, you have the opportunity to specify the features you require. These may include calling capabilities, SMS services (either incoming, outgoing, or both), among other properties. This allows you to tailor the service to your specific needs.
Set Up Voice Channel
Configure Voice in Dynamics 365 Customer Service
With ACS and phone numbers in place, you’re ready to configure Omnichannel Voice.
Access the Customer Service Admin Center
Navigate to Channels → Manage Voice
Log in to the Customer Service Admin Center
Ensure your user has the required Omnichannel administrative roles
When you click on ‘Manage’, you’ll need to Add Channel here
Configure other Key Steps
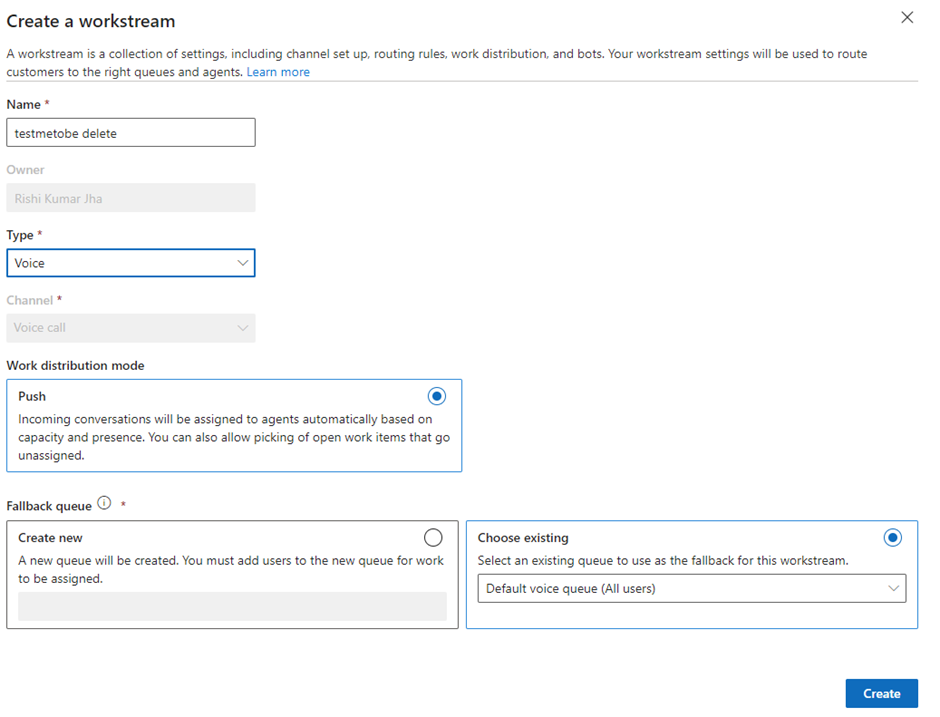
Workstreams
A workstream defines how incoming calls are handled and routed.
It includes:
- Channel configuration
- Routing rules
- Queue selection
- Work distribution logic
- Operating hours
Workstreams ensure customers are routed to the most appropriate agent based on defined business rules.
Create Inbound and Outbound Profiles
Voice profiles control how agents interact with calls.
From the Customer Service Admin Center:
- Navigate to Productivity
- Create Inbound and Outbound voice profiles
- Define behaviors such as recording, transcription, and call controls
These profiles are later associated with agents.


You can follow the steeps to create profile here.
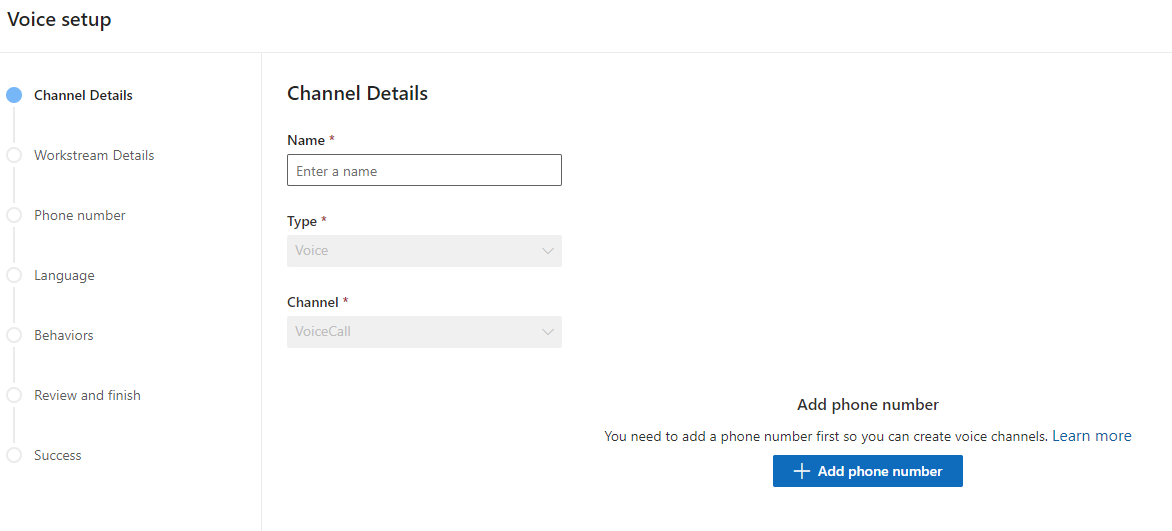
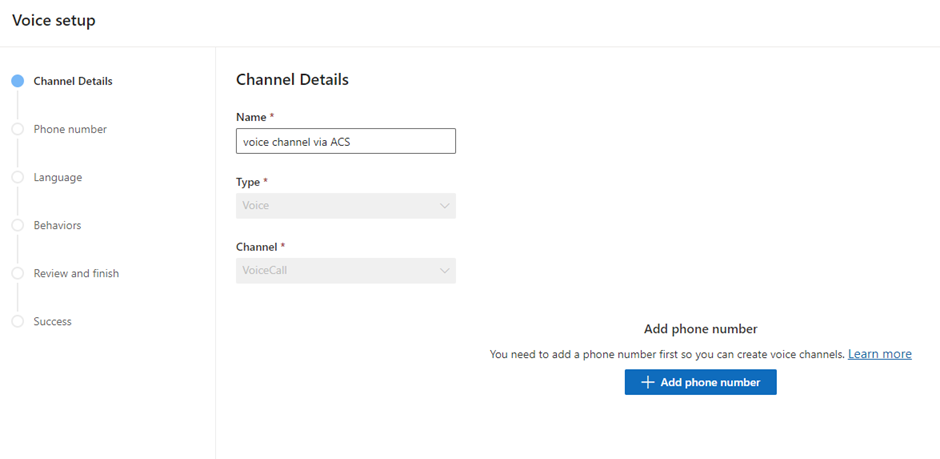
Create the Voice Channel
After the workstream and profiles are ready:
- Create a new Voice Channel
- Specify channel details such as:
- Language
- Phone number
- Channel behaviors
- Associate the channel with the relevant workstream

You can specify the details for your channel, such as the language, behaviours, and phone numbers, as outlined below
Behaviours-
You have the ability to define the behaviors during the channel setup process, as outlined below
- Customer wait time
- Notify position in Queue
- Notify Average wait tome
- Channel operating hours
- Enable or disable Transcript and recordings
You can associate your workstream with the voice channel created.
Test – Call Feature:
Testing the Voice Functionality
Once configuration is complete, you can validate the setup.
Test Steps:
- Create a contact record with the test phone number
- Sign in to Customer Service Workspace
- Ensure the agent has Omnichannel Agent (or higher) role
- Call the ACS-provisioned phone number
Expected Behavior:
- Incoming call notification appears in the workspace
- Agent can answer directly from the UI
- Contact record loads automatically
Transcripts, recordings, and AI insights are captured as configured

Service Limits:
Azure Communication Services has documented service limits, including concurrency and regional constraints. These should be reviewed before scaling to production environments.
Refer to Microsoft’s official service limits documentation for the most up-to-date details. You can read Azure communication services , service limit here
Summary
Azure Communication Services provides a powerful, secure, and natively integrated voice solution for Dynamics 365 Customer Service Omnichannel. By combining ACS with Omnichannel capabilities, organizations can deliver end‑to‑end voice experiences directly within the Dynamics 365 ecosystem—without relying on external telephony providers.
By following the steps outlined in this guide, teams can confidently provision, configure, and test voice channels tailored to their business requirements while leveraging Microsoft’s enterprise-grade communication platform.


Leave a comment